
Creating a playbook campaign
This page describes what an Ortto playbook is and how to create one.
What is a playbook?
A playbook helps you automate messages and actions to your customers across the customer lifecycle. Audiences represent key lifecycle stages, and playbooks should be paired with each audience to achieve a goal. For example your Subscribers audience should be paired with a playbook welcoming new subscribers.
Playbooks can be used to automate:
- welcoming new subscribers;
- converting subscribers into customers;
- onboarding new customers;
- recovering abandoned carts;
- expanding existing customers; and
- getting more reviews from VIP customers to build awareness.
Playbooks are designed to be paired with Audiences. Audiences represent key stages of the customer lifecycle such as:
- Subscribers
- Customers
- Abandoned carts
- VIP customers
- Slipping customers
- Repeat customers.
When paired with an audience a playbook will help either expand (e.g. Customer audience) or contract (e.g. Abandoned carts) an audience. At a minimum you should aim to pair at least 1 Playbook with every audience.
How do playbooks work?
Playbooks are designed to help you send messages to your audiences at a regular cadence to achieve a specific goal. They consist of:
- a filter which controls when a person enters the Playbook;
- a filter which controls when a person exits a Playbook;
- email messages;
- actions such as updating a field or adding a new lead;
- a cadence at which to send messages; and
- an attribution goal.
People enter a Playbook when they meet the entry criteria and are not already in the Playbook.
How playbook messages are sent
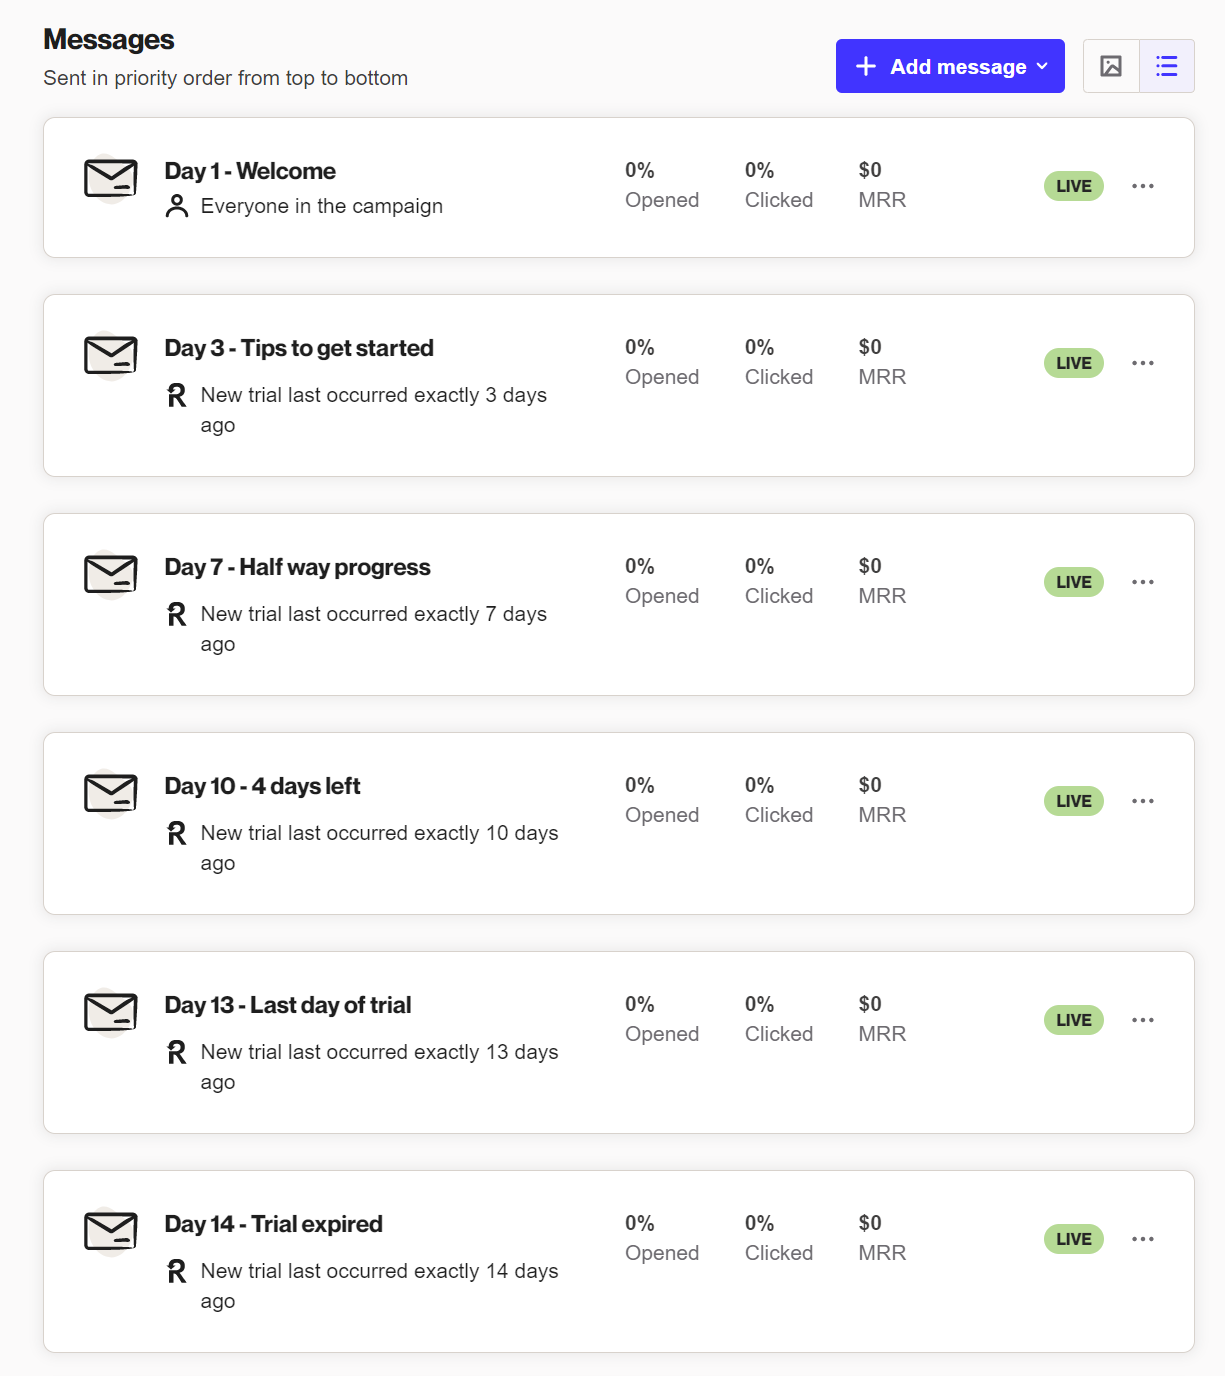
Messages in playbooks are arranged in a priority order. The highest message is the highest priority and the lowest message is the least priority. You can drag and drop messages up and down to change their priority order.
When a person enters a playbook the messages are sent in priority order provided the person is subscribed and is eligible based on the message filter.
By default the message cadence is set to send messages at least 3 days apart. Provided they are eligible based on the message filter, the first message will be sent immediately after they enter a playbook. The next message will be sent 3 days later based on priority order and the message filter.
This allows you to focus on producing great content to be sent to your audiences at a regular cadence.
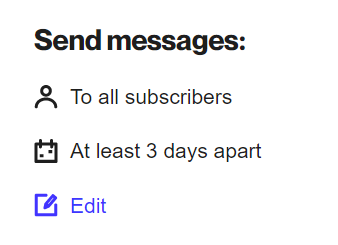
You can adjust the message cadence under Send messages in the playbook.
How to send messages at specific times e.g. day 1, day 3, day 5
Messages in playbooks are designed to be sent at a regular cadence. The cadence is like a heartbeat, keeping your audience engaged by sending regular messages. But sometimes you need to send messages at specific times.
For example, if people are on a 14 day trial (with descriptions in brackets):
- Day 1 — Welcome (Welcome them to the trial)
- Day 3 — Tips to get started (Get them active)
- Day 7 — Half way progress (Summarize their activity so far)
- Day 10 — 4 days left (Remind them their trial will end soon)
- Day 13 — Last day of trial (Remind them their trial ends tomorrow)
- Day 14 — Trial expired (Tell them their trial has ended)
- Day 16 — Feedback (Ask them for feedback if they didn’t subscribe).
Create a playbook campaign
To create a new Ortto playbook campaign (e.g. based on the time intervals above):
- On the Campaigns page, click New campaign.
- On the New campaign page, click Playbook to begin creating your playbook campaign, followed by Next.
- On the New playbook page, select a template based on a particular use case or data source integration as the basis to build your playbook. You can select My saved templates or choose from templates shared with you from another Ortto account under Shared with me.When you choose a template, click Use template to get started. If the template you selected uses data from a connected data source, you’ll need to choose the relevant accounts. Once selected, you can also rename the campaign if needed.
- Under Send messages click edit and change the message cadence to As soon as they match. This means messages will be sent immediately in priority order as soon as they match the message filter.
- Click Add message to add messages (assets) to your playbook for the trial, whose names reflect those in the list above (excluding the descriptive content in brackets).Selecting to create a new message will take you to the templates page where you can select a relevant template or start from scratch.Selecting Choose existing will show you your email assets, from which you can:
- start from scratch to create a new asset,
- duplicate an existing asset that is attached to another campaign (see the campaign name below the asset name). To do so, click on the asset/s you want to use then click Duplicate email. Assets can only be used once per campaign, which is why you need to duplicate the asset/s.Or
- select an asset that is not yet attached to another journey/playbook (see No campaign below the asset name).Learn more about assets in Asset manager.
- To set the specific day to send each message we need to add a filter to each message. The filter can be based on the time since the activity occurred (e.g. new trial) or the time since they entered the playbook. The first message does not require a filter since it will be sent immediately (e.g. day 1).The final playbook message filters will indicate when recipients will receive these email messages.
- To stop messages being sent use the exit criteria filter.
NOTE: If this is your first playbook campaign, in particular if you are new to Ortto and have recently created an/signed up with an account, your details and Ortto account itself may need to be verified (and therefore "trusted") by Ortto. Learn more about this process in Untrusted accounts.
About playbook actions
Actions allow you to use Ortto to update data in your Ortto account’s customer data platform (CDP), as well as within specific data sources, and external applications that support webhooks.
To add an action, in the Actions tab, click New action.
From the New playbook action page, you can select from system or data source actions under the relevant tab.
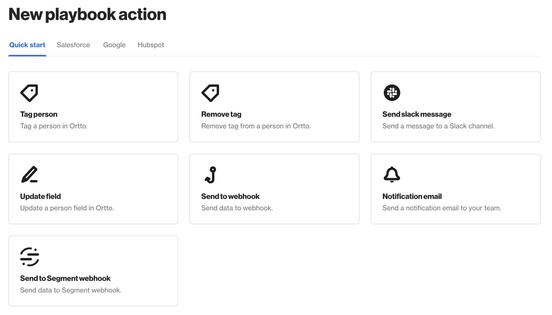
Select the required action and complete the setup. Some actions allow you to send a test to make sure your configuration is correct.
Learn about working with actions, including how to update contact data from a webhook action.
When to use a journey instead of a playbook
While playbooks are a great option for automating messages and actions, sometimes a journey is better suited to your needs.
One case for using a journey over a playbook is when you have a large number of messages and contacts in the playbook. A guide for this is:
# of contacts waiting in the playbook x number of messages = > 1,000,000If your playbook exceeds the guide amount listed above, we recommend moving the messages and audience to a journey campaign. With so many people and messages, you can take advantage of the additional features that a journey campaign offers, such as the ability to send SMS messages or push notifications, add variable delays between messages, apply conditional logic to determine the flow a person takes through the journey, and apply actions mid-flow.
Additionally, a journey campaign is better suited to handle a large volume of people, messages and actions. This will help you avoid potential issues such as contacts receiving delayed messages, or missing messages.